Thursday, November 19, 2020

Homemade ornaments


Homemade Ornaments 


We give our girls ornaments each year to represent something they did from that year.  In the past we've just bought them.  I've wanted to make them, but always ran out of time.  This year, I was talking about them with some friends and we joked about the different things I could tie in from our crazy 2020 year.  Two big things that I wanted to incorporate was toilet paper and perler beads.  Toilet paper for obvious reasons, and perler beads because we did A LOT or perler beads during quarantine and afterwards. 


If you are interested in the how-to on making toilet paper roll flowers.  You can follow the steps on an earlier post of mine here.  

I made mine into a flower shape this time. 


Then, I made my perler bead designs.  I made each perler bead design individual to each girl.  Arya played soccer for the first time this summer, plus she really enjoys her sports. Jensen, started Kindergarten, and Sadie can't get enough ice cream...one time she even ended up with an adult cone by accident.  Plus, we did a lot of DQ drive-thru and had ice cream in the van during quarantine.  

Sadie with her adult sized ice cream

Once they were melted, I just hot glued the perler bead design to the toilet paper flower.  


Finally I punched a hole through the top of the flower and thread some yarn through.  

That's it! It was really easy and a great way to tie in what we did this year. 


This post includes affliate links, which means if you click on the link I get a portion of any sales at NO COST to you.  See my disclosure page for more details. 


Friday, November 6, 2020

10 ways to reuse that egg carton


There are SO many ways out there to re-use that egg carton.  Maybe you're familiar with all the ways you can re-use it, or maybe it's totally a new thing for you.  Well I wanted to share with you 10 of our favorite ways to re-use our egg cartons. 

1. Jewelry holder

    It's perfect to hold all those small rings.  Plus, putting bracelets in them is pretty easy for little girls and it helps keep them from getting tangled. 


2. Christmas bulb holder

    We use this every year for our Christmas bulbs.  We've had these egg cartons for our Christmas bulbs for years and they hold up so well.  Plus, if they do break apart you can easily get another one.  

3. Card holder for little hands

    Ok have you seen this before?  I was so amazed when this one was told to me.  Have kids who have trouble holding all those cards during a game?  Take an egg carton turn it upside down and there you go an easy way for them to place their cards in.  

4. Paint holder

 https://www.momdot.com/mess-free-painting-egg-carton/
How cool is this, it even has a way to hold the paint brushes! I think this is one of my favorite ways to re-use the egg carton.  We just recently tried this and it works great!  

5. Easter gift: 

Add some eggs and use as an Easter gift.  We were given some egg cartons with fake eggs in them for Easter one year.  This is something you can easily reciprocate by just cutting up your egg carton in half.  

6.  Seed starters

    What a great way to start seeds. Egg cartons (cardboard ones) are compostable. They are a great way to start a seed and transfer it to a garden or bigger garden. 

7. Color sorting 

    Use your paints or some color circles to place in the bottom of each space. Then using some beads or small pom poms, have your preschooler sort the colors into each space. 

8. Counting 

    Write a 1-12 in the spaces. Then practice counting with your preschooler.  Also, if can use your beads or small pom poms again and count how many for each number.  I.e. 7 beads in the 7 space. 

9. Make a craft with it! 

There are so many crafts you can make out of egg cartons.  Here is just one site that has some fun egg carton crafts! 
 The Spruce Crafts, has over 20 different crafts for littles to make with egg cartons.  

10. Finally, re-use it for eggs

A while back I did an IG post on buying our eggs in bulk.  You can check out the post here. Our local Walmart carries them in huge box of about 6 dozen.  I save our egg cartons and use them to redistribute all those eggs from the box and it helps save room in my fridge.  Not to mention, the money it saves on eggs too.   Or, if you are lucky and have someone you know who has fresh eggs, you can always use those cartons then too. 


Tuesday, September 15, 2020

10 ways to re-purpose that tin can


 Recycling is huge!  I'm all about recycling anything we can; however, if I can re-purpose something instead I will.  First of all, not only is that one less thing being broken down to recycle, but it's also one less thing I'm purchasing.  Here are 10 ways that I've re-purposed tin cans in our household, of all sizes. 

Cat food cans: 

1.  Office/Junk drawer organization:


    Tuna cans are great for organizing those small things in your office or junk drawer.  We have 4 that we use to hold paper clips, rubber bands, our menu cards and other little odds and ends. 


2. Bathroom storage: 
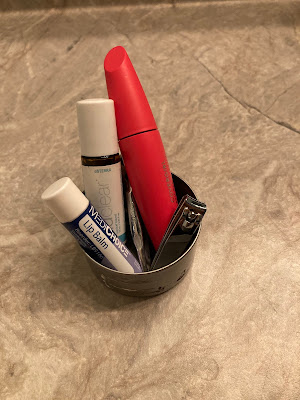
      Cat food cans do a great job holding those small things in the bathroom; your lip gloss, chapstick, tweezers.  I have one tuna can in my cabinet that holds all those in one.  It's great to hold those small items together so they don't get lost amongst all the other bathroom items.  


Tuna cans: 

3. Earring holder: 

    Tuna cans are the perfect size to hold a few pairs of earrings.  Plus then they don't get tangled together if you have any of those dangly ones.  They also aren't very tall so they fit in a drawer really easily. 


General tin cans: 

4.  Organizing craft supplies:   

    We use these for holding markers, colored pencils, crayons and more. They are a great size for kids to be able to grab easily.  Or you can put them in a little bin and have your bin more organized as well. 


5.  Make a craft with them:

    Tin can style is in.  Wrap some yarn or twine around them a few times or a lot.  Add some decor inside and it can make a great centerpiece.  


6.  Organizing bathroom essentials:   

    Another great way to organize the bathroom.  Works well for holding q-tips, cotton balls, hair ties etc.  They are also small and can fit together in a small space, but keep order to your bathroom cabinet. 


Large cans (baked beans) 

7. Garden tool storage: 

    The large tin cans are a great way to store those gardening tools.  The girls and I all have our own little tin can.  It has our own gloves, a little rake and 2 shovels.  Eventually, I plan to put labels on them so we each have one with our name on it. 


8. Kitchen utensils: 


    A great way to keep those utensils from falling all over in their storage container.  Take a large tin can and place it inside your utensil holder.  It's perfect to keep the utensils more together.  If you have an oval or larger container, you can divide your utensils up into a few different large tin cans.  


9. Pet organization: 

    Organizing all that pet stuff.  We keep our cats' collars, tags, brushes and their treats in a large tin can.  It's perfect to just grab when we need something.  


All can sizes

10. Planters: 

    Have you seen the fun ways people are using their tin cans as planters?  It can be for herbs, or small plants.  You can use any of the different sizes.  While I haven't tried this yet, it is on my list of things to try.  Check out a simple how to on the blog, Handmade Charlotte .  She does a great job of showing step by step photos.  Plus, if you want to hang them, she shows you how to do that too! 


Saturday, August 1, 2020

Milk freezing


No milk was wasted during this photoshoot...but reused to make a delicious latte! 


So I posted on my IG account about freezing milk.  However, when I froze milk the first time I just split one gallon into two gallons.  Milk does expand, so you want to make sure you have room for it to do so.  After wanting to use the milk that I froze, to get it out of my freezer,  I realized how much that was to try and use up all at once.  I ended up making 4 batches of muffins and used it for my homemade gravy for supper of biscuits and gravy.  And then I STILL had a cup or so left.

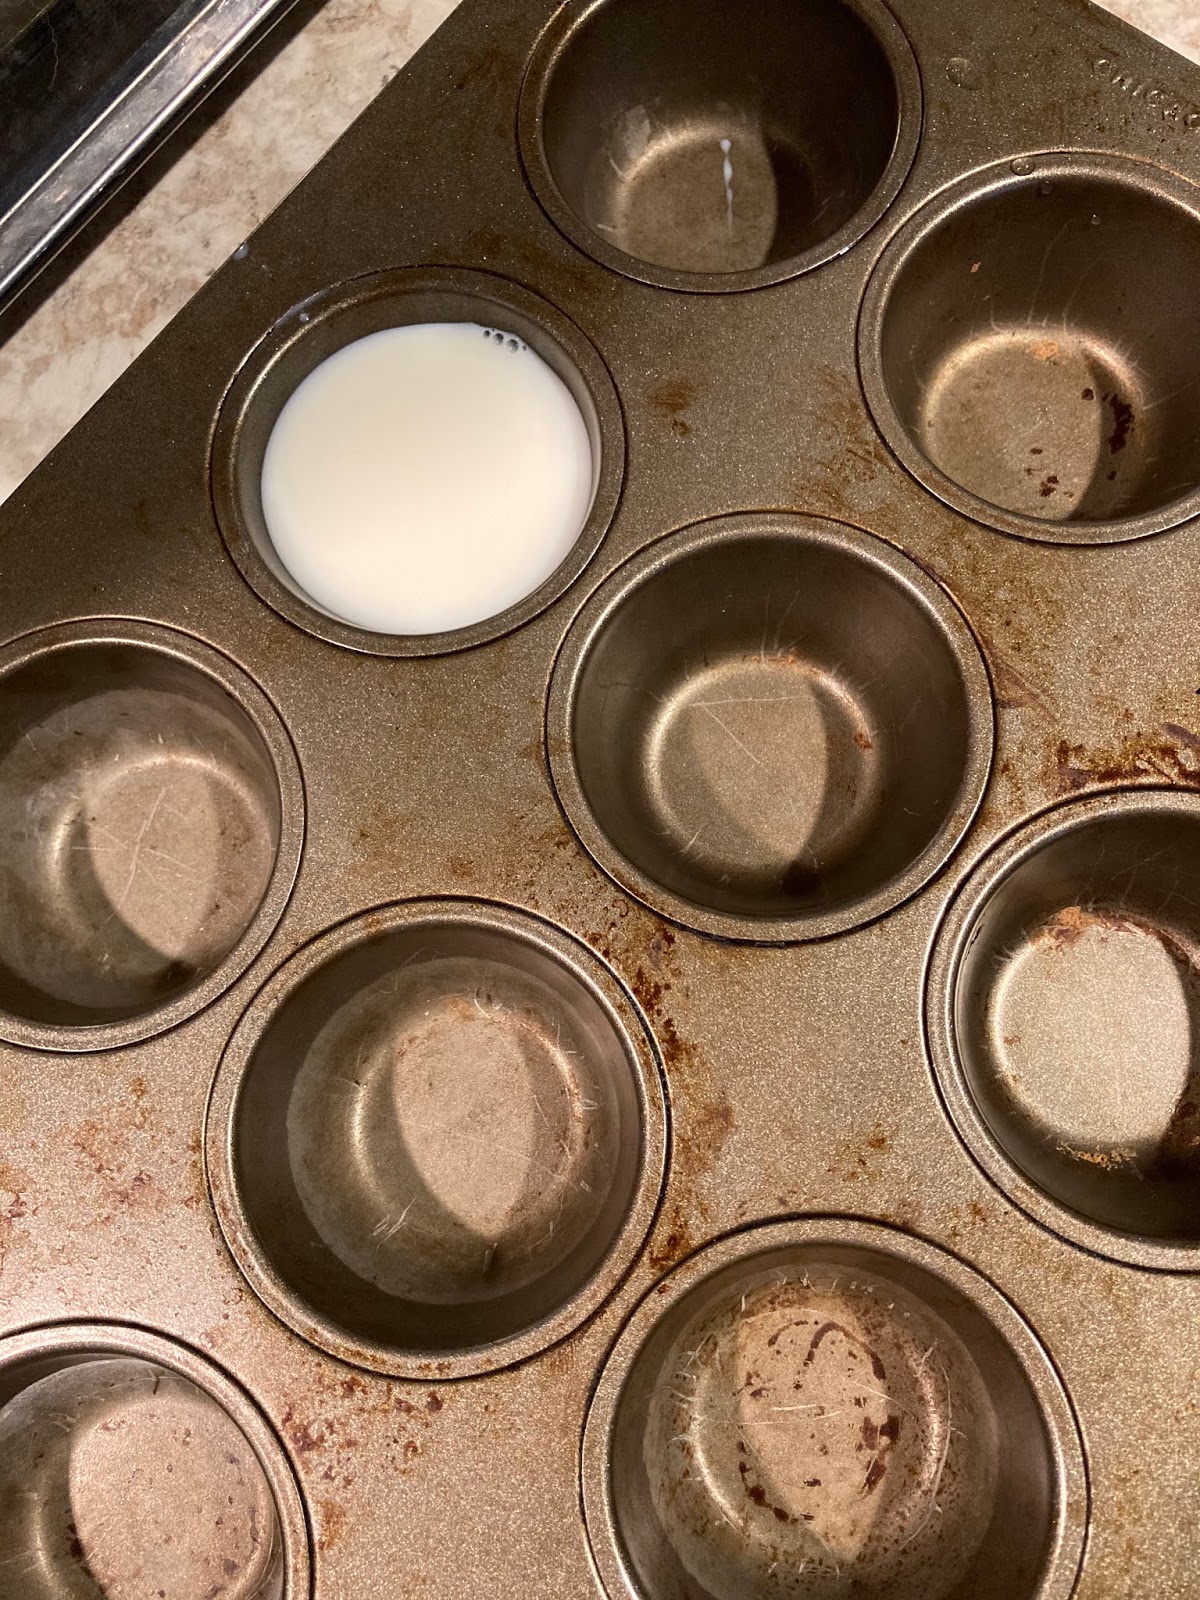
So I decided there has to be a better way to freeze milk in smaller batches.  Then one day, I was looking at my cupcake pan and realized that would be perfect!  So I froze milk in my cupcake pans.   Now you can also freeze it in ice cube trays.  I did that before when I was nursing, but if you want a little bit more at once then the cupcake pans hold a little more.  I measured to see what the difference was, and ice cube trays hold about 1/8 cup, whereas the cupcake pans could hold between 1/4 cup to 1/3 cup of milk, depending on how much space you want left in the rim.


1/3 cup of milk 


1/4 cup of milk 

Ok so I also said I' share some recipes that I found to use up that milk. One of our favorites was making muffins. 

This is our go to recipe for making muffins.  If you are familiar with Malt o Meal, they have a muffin recipe printed on the side of their box.  It really does make good muffins plus it calls for 3/4 cup of milk.  So if you froze your milk as 1/4 cups in the muffin pans, it'd be easy to use. 

When I was looking up muffin recipes I found this one on Pinterest and we really liked it.  We did just make 12 regular sized muffins instead of the 6 jumbo ones, but I didn't have to do anything different, the recipe worked as is I just divided the batter into 12 muffins.  This recipe calls for 1/2 cup of milk.  So again if you go with the 1/4 cup it's really easy to just take out 2 frozen milk muffins.

3. Biscuits and gravy. 
So I LOVE biscuits and gravy.  My mom is from the south and whenever we visited Grandma, she would make homemade biscuits and gravy.  It is something that we have continued to do, although I don't make homemade biscuits.  (It's something I want to learn though).  But, we have biscuits and gravy at least once a month!  Making homemade gravy is a perfect way to use up frozen milk, especially when you freeze it in larger quantities. 

Ok before I give you our recipe I want to say I'm not going to be able to give you accurate measurements as I don't measure (just like my grandma & mom).  BUT, I DO measure the milk and I can give you guidelines for the rest. 

Our recipe: 
grease from meat you are using (bacon, sausage) (about 1 Tbsp)
flour (about 2 Tbsp) 
milk 2 cups

This is what I do for my family of 5, who includes my husband, myself, our 3 girls 7, 5 & 2 1/2.   

Now, if you want to make more, you can.  When we have other family members over, like aunts and uncles, grandparents etc. I add 1 cup of milk.  Then you'd need to add a little more flour and grease as well.  More flour the thicker it will get as you let it cook, more milk the thinner it will be.  It's totally a preference kind of thing. 

Put your measured out milk on the stove before you start.  This helps the milk to warm up and not clump.  Take the grease that you are using and put in a skillet.  Heat to medium and start adding your flour. Mix the grease and the flour together until it's mixed well.  Turn the heat down to low.  Slowly add the milk to the mixture.  Turn the heat up a little and stir.  The longer you let it cook the more it will thicken; however, if it doesn't thicken enough, just add a little more flour.  Remember more flour = thicker gravy, more milk = thinner gravy.  Add the meat you wanted at the end and enjoy! Or go meatless!  I don't add any seasonings as I feel the grease is enough seasoning, but you can add some pepper and salt if you so please. 

You may also be interested in: 


Pinterest