Advent
During Advent my husband and I try to teach our girls the spirit of giving. We want to help our girls learn there's more to Christmas than just getting gifts. We take this time to point back to Jesus as much as we can. However, with Christmas, and the world view of Christmas that isn't always easy. Everywhere you turn during this season there are ads and conversations about what you want for Christmas. So, during our Advent activities we try to steer towards giving and family activities along with ways to help our daughters learn the joy of helping and giving back to others.
I posted on my Instagram just a few activities that we do during Advent. In this post, I'll share most of what we do and how we don't spend a lot in the process. Because what we also want to teach our children is that even if we are on a budget we can still enjoy Christmas and all that goes with it.
Advent Calendar
I've done different Advent calendars over the years and now that we've added kiddos I'm always looking for the simplest, yet stylish way to do the Advent calendar. I like to make things fun and cute while saving money too!
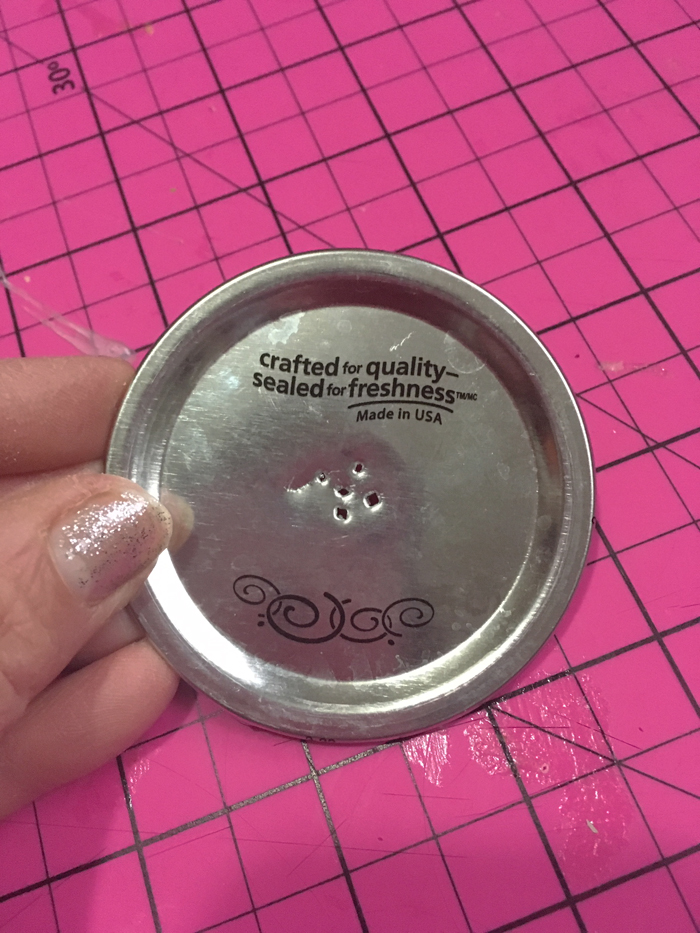
As I said on my IG post, I've used this same layout for the last three years, but have just changed how I use it each year. Last year, I put the papers in a mason jar and the girls took turns taking out each day's activities. You can find last year's Christmas post here.
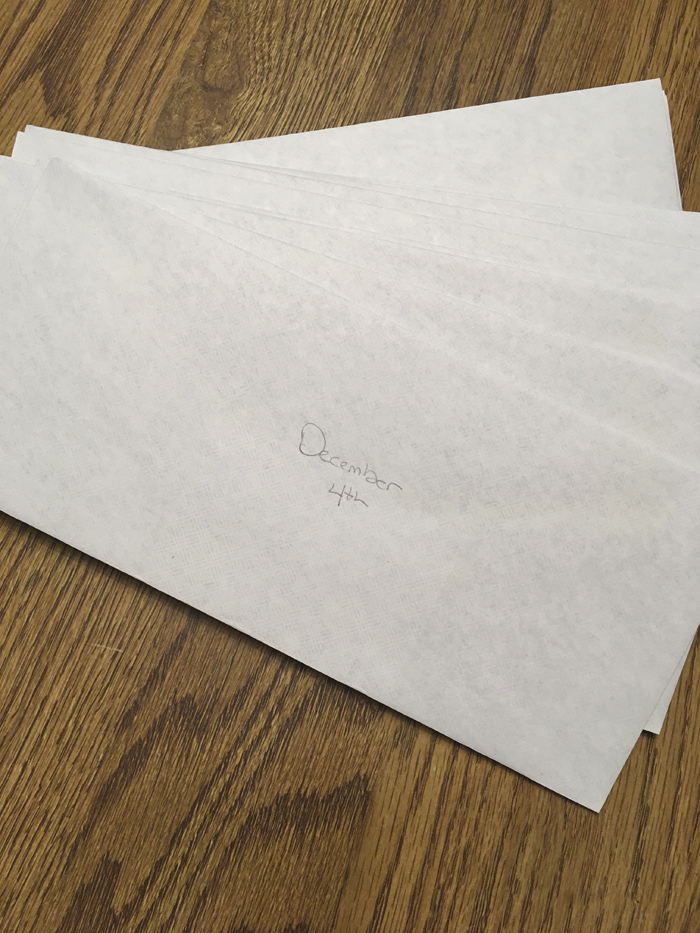
This year, I took 20 envelopes (Our Christmas will be on the 21st), and then added the small paper in the envelope along with some stickers for each girl. The girls have been taking turns "opening" the envelopes and reading the activity for the day, plus playing with their stickers.
Now, first of all I say "opening", because I didn't seal the envelope. I plan to re-use these next year, or for something else. So I just wrote on the front in pencil and then tucked the envelope in, instead of sealing it.
Second, the stickers came from a couple of sticker pads and I cut out about 3-5 per girl. This way I can make the sticker book last the whole month of December and still have some stickers for them afterwards to add to their craft corner. I'm not a big fan of chocolate everyday, but on the days where they get to pick a Christmas movie they get a piece of candy or two.
So, all in all I spent a total of $5.00 for the Advent calendar & little treats. I bought three small sticker books (just because I wanted different types of stickers) & the candy was leftover from another time. $5.00 for three girls! I was just at Walmart and a Advent candy calendar cost about $6.00, times that by 3 and I would have spent close to $20 for just Advent, and that's just for the calendar!
Advent Activities
So now that you haven't spent a ton on the Advent calendar, you have a little more to be able to give.
See how that works?
That's what we strive to teach our daughters, not just during the Advent season, but all year long. However, this is a great time to teach it even more.
1. Cookies for Neighbors:
One of my favorite Advent activities we do is making cookies for our neighbors. I'm not sure exactly when I started this, but it's something I look forward to each Christmas. We have 3 different cookies that we make; sugar, peanut butter kisses, and no bake cookies. This helps to know what special ingredients we'll need and as the season gets closer I can stock up as the ingredients go on sale. The girls enjoy baking cookies and helping to cut out the different sugar cookies into fun Christmas shapes. They like delivering them to the neighbors when we're all done and telling them Merry Christmas. It's a fun way to help them enjoy giving to someone.Currently, we have 5 neighbors and it just so happens we have 5 people in our family. My mother-in-law gives us Advent treats in fun Christmas canisters each year. Can you guess what I do with them? Yep! I reuse them and gift them to my neighbors full of cookies! So this activity only costs me the ingredients to make cookies, which really isn't a lot when you use flour, sugar, butter and such for other cooking in your house. But, I didn't always get 5 canisters from my mother-in-law, before my other two were born we only got 3. So at the end of Christmas I would buy Christmas canisters at 50-75% off and save for next year. So, as your reading this, make a note to add to your after Christmas sale shopping, Christmas canisters to save for your advent gifts next year. :)

Here's one of the tin canisters we re-used for our neighbors this year. Plus a cute little craft we made, my daughter came up with most of this on her own! Simple crafts work for Advent activities too!
2. Treats for teachers:
Another way we like to show our giving is to have our girls make treats for their teachers. School teachers, (don't forget the Art, Music, PE, Library, Guidance, & Office), Sunday school teachers, Nursery and any other teachers they have...dance, piano...etc. WHOA, you may say that's a lot! I thought you were talking about saving not spending. Yes, that is a lot. But those, teachers...oh and bus drivers..are important! And helping your child make treats for them to show how thankful they are is important too. Again, these treats do NOT have to cost much. This year, spoiler to any of my daughters' teachers who may read this, we are making popcorn. Homemade popcorn with some fun candy thrown in it is super affordable and easy to make. Want to know how to make affordable homemade popcorn? You can find that here.3. Christmas Advent wreath
A simple activity is to celebrate the Advent wreath. We usually do this as our first activity depending on when the first Sunday lies on the calendar. It's a great way to gather the family and talk about the true reason we celebrate Christmas. And it's so simple. If you've never done one and want to here's a link to some advent candles. We have been using ours for at least 8-9 years! Then I just wrap some fun garland around it. This year I even added some pretty gold beading we've had lying around.
4. Christmas countdown
One of the other activities we do during the beginning of the season is our Christmas countdown. You can get a lot of strips out of one piece of construction paper. We made three this year and I used a total of 9 sheets of construction paper.5. Christmas coloring pages
You can get so many Christmas coloring pages online. Or, you can buy a Christmas coloring book and tear out pages for your kiddos to color. I usually do just a few pages each and that seems to be just enough. Below are a few options for if you want to buy a coloring book. This first one has about 32 pages and is only $7.00. The other has about 50 pages and is around $6.00.6. Pick a Christmas movie
We are doing this three times this year. Yep three girls my life revolves around three! Plus, that's three nights that I'm not having to come up with a different activity that doesn't cost a lot. So I have three separate nights that we will watch a Christmas movie, in addition to our normal Friday movie nights, and each girl gets a turn to pick the movie. Simple. Fun. & Affordable!7. Pick a Christmas book
Just like the Christmas movie, I have three days that we will read Christmas books for our Advent activity. And yep, each girl will get their own day to pick out the Christmas book.8. Christmas program
This one is the best! Need a filler? Put your child's Christmas program on the Activity list! It makes it even more special, and it's one less day/night you have to plan!9. Go see Christmas lights
We enjoy going to a local town and seeing all their Christmas lights. We've gone to different towns throughout the years and we've found our favorite. We don't go to a big city and spend money to see the big lights. It works just fine to go and look at local houses and how they decorate. This is something both my husband and I grew up doing and we enjoy getting to look at lights with our girls now too. Make it even more special pop some of that homemade popcorn listed above and make some homemade hot coco to take along.10. Drink hot coco
Make some delicious hot coco and just enjoy being together. Make it even more special, drink it by the tree with all the lights off!This year I had to improvise a little as our schedules have got fuller. But, I'm enjoying the more simplified Advent activities along with having repeated ones too. I hope that this helps you this Christmas season and remember the true reason is Jesus and that's what we reflect on. With that we have one more thing we do each year. We try and read the Nativity story before bed each night. There are many options on Pinterest you can find, the following is the one we have been using this year: Advent Bible Reading
This post includes affiliate links, which means if you click on the link I get a portion of any sales at NO COST to you. See my disclosure page for more details.