Thursday, February 9, 2023

Snow for watering plants


    Did you know you can use snow to water your plants? Now, don't go out and grab some snow and put in your plant pot, because then your plant is not going to be happy.  But, if you use melted snow to water your plants you are not only saving on water, but you are benefitting your plant as well! 

As snow falls through the atmosphere, nitrogen attaches to the snowflakes.  This is turn becomes nitric oxide and is really good for plants because it's essentially a natural fertilizer. So if you are looking for a great way to add some nutrients to your indoor plants and save money in watering, use snow! Can I just say, how amazing God is that He created all nature to work together.  It is just little things like this that make me go, WOW! He really has it all worked out, even to the smallest details! 

Back to watering with snow: 

Watering your plants with snow is pretty easy. 

1. Find a container you want to use to hold the snow/melted water. 

2. Collect snow from outside. 

3. Keep container inside and the snow will slowly melt. 


    You will notice that you will have less water than you did snow, because snow takes up more room that the liquid it is made of.  This gives you room to add more snow as it melts. I like to keep adding snow until my container is full of water so I know I have plenty.  Plus the snow won't last forever, right?

4. Once the snow is all melted and the water is room temperature, you can use it to water your plants just as you would with your normal water. 

It's that easy! 


Thursday, February 2, 2023

Homemade Valentines


This post includes affiliate links, which means if you click on the link I get a portion of any sales at NO COST to you.  See my disclosure page for more details. 


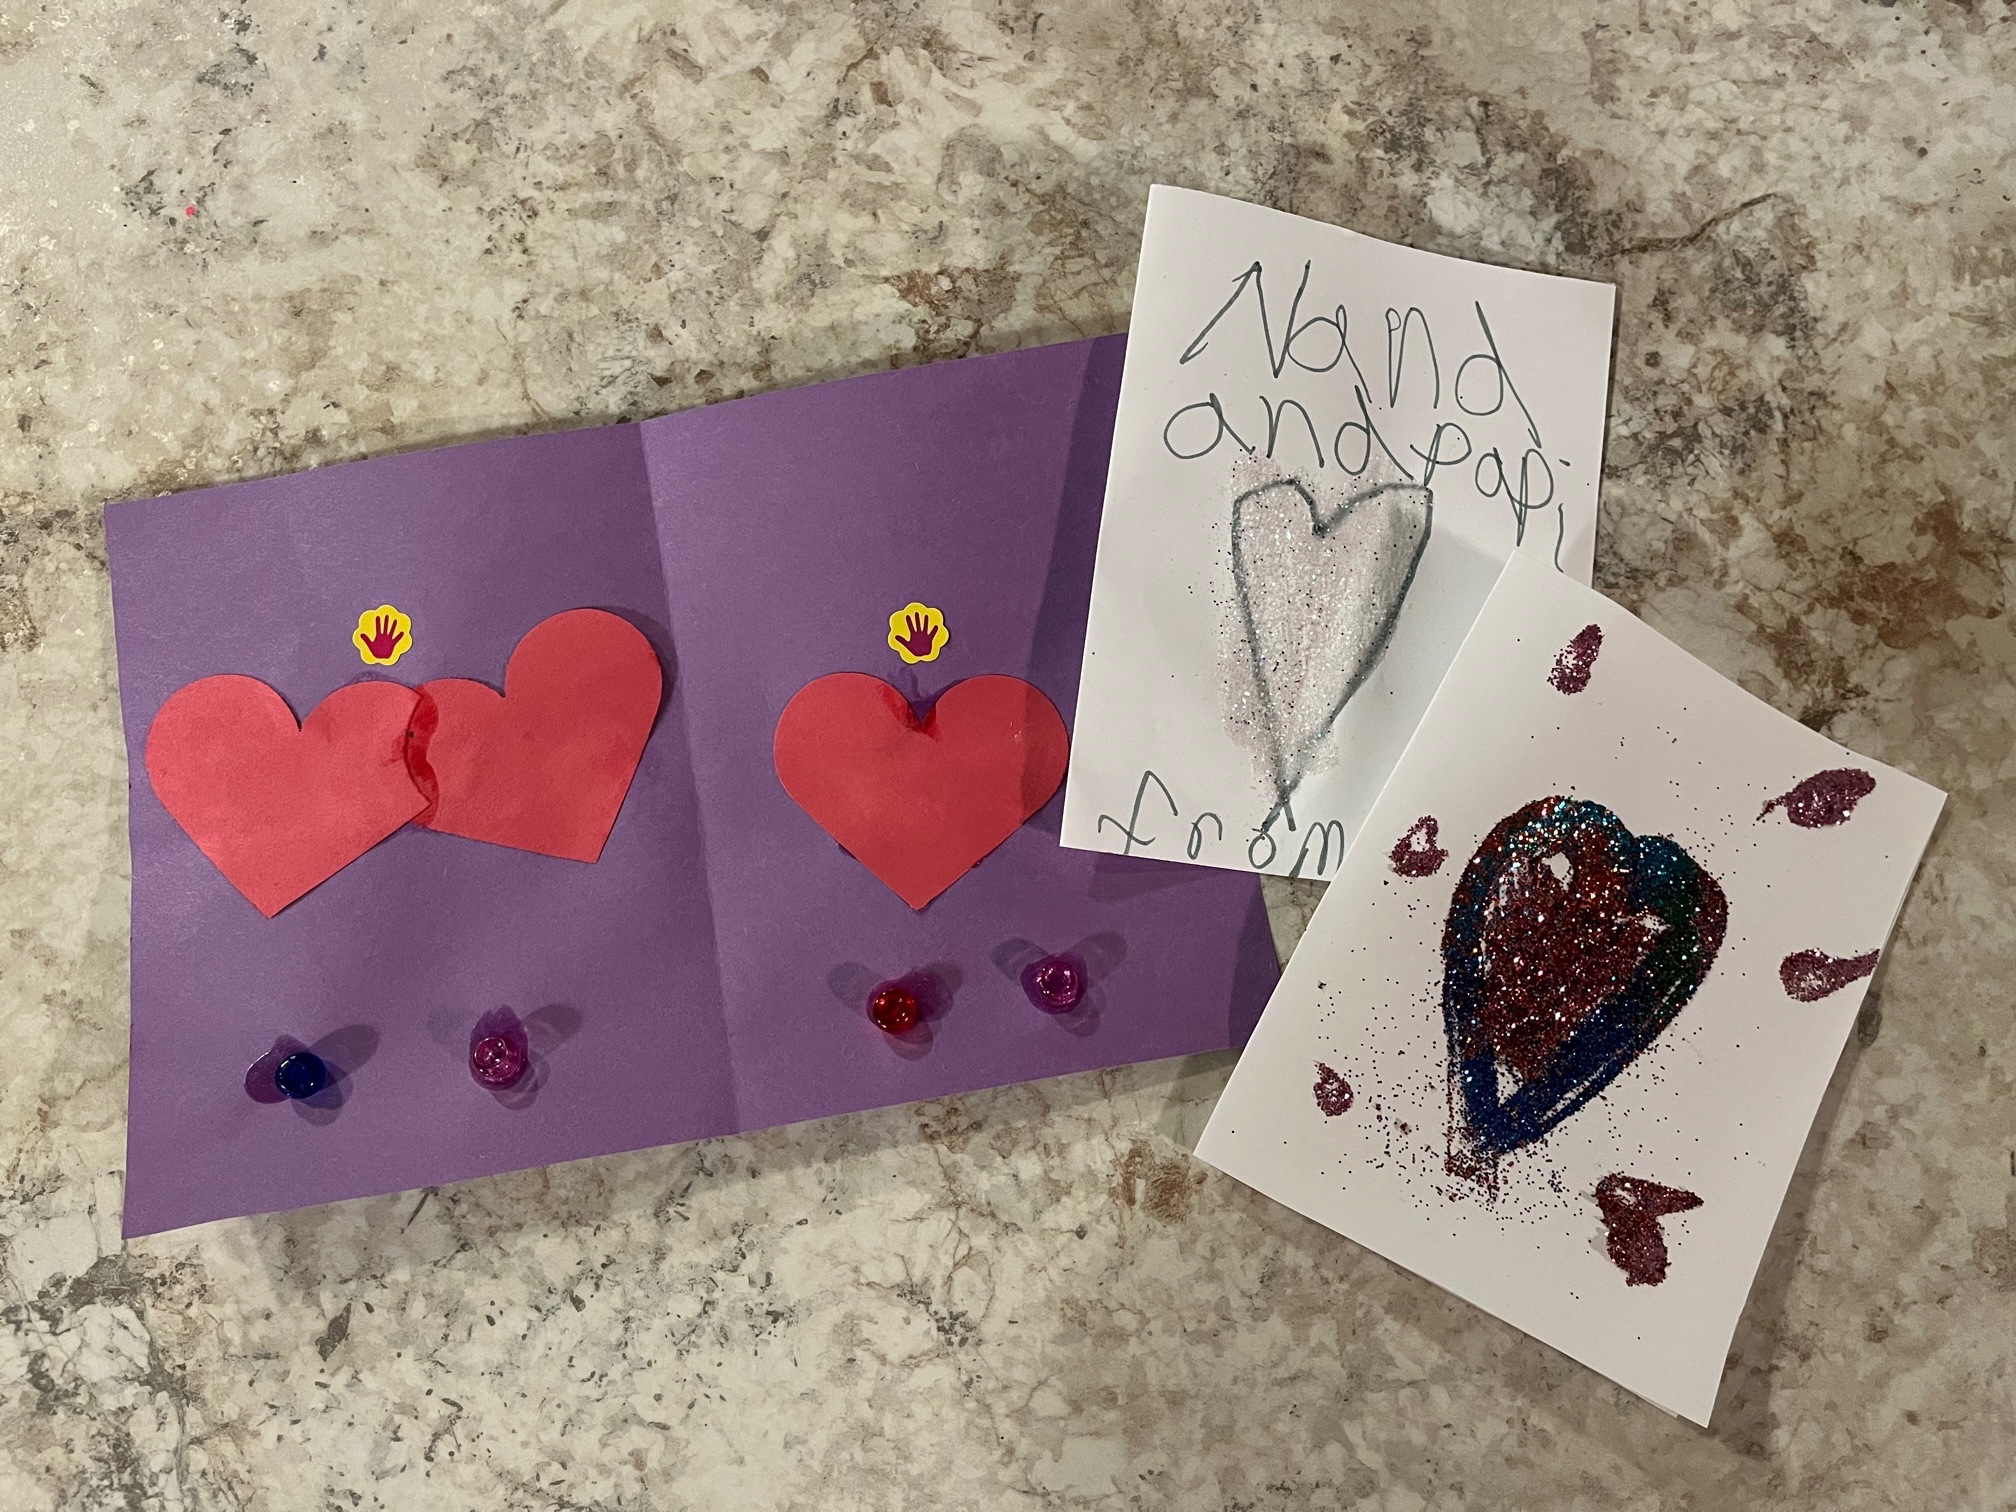
    Valentine's Day is just around the corner! Now's the perfect time to start making those valentines for family and friends.  Homemade Valentine's are so easy to make!  If you are up for some craft time it's a fun project to do with kids. 

In our house, I like to take all the things out and let my girls be creative!  I usually have cards made for them to start. Check below for my easy how to! Then they can write in them, add construction hearts, glitter, glitter glue, felt hearts, stickers and anything else we have on hand that would work. 

The simple way to make a card: 

1. Take a piece of computer paper/white cardstock

2. Fold in half. 

3. Cut on folded line. 

4. Take the two halves and fold each one in half. Now you have two cards.  

   They will fit perfectly in the small photo/invitation envelopes. 

Now, like I said I'm one that lets my girls just go and be creative, but I wasn't always that way. My girls are a little older now so it works for them to be able to do more.  You can set it up however you like.  I'll share some of our different homemade cards for some ideas! 

1. Painted Hand print cards ~

Remember my post about homemade Father's Day cards? Well you can do a similar card for Valentines! Don't remember? You can check it out here. 

2. Glitter heart cards ~

My girls can't get enough glitter.  You can make glitter heart cards two different ways. 

    1. Draw a heart using Elmer's glue and let your kiddos shake some glitter on.  A great way to keep the mess down; put the card on newspaper or wax paper and then shake the extra glitter off onto the newspaper/wax paper. Then you can reuse that glitter for another card, or pour it back into the container. I linked some glitter at the bottom of this page that is similar to what we have and we've used a few times. 
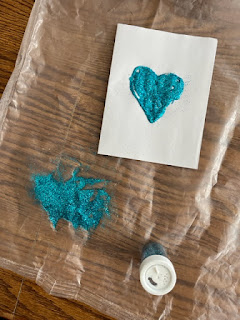
         

    One tip for using glue: I pour some glue into a small container (we reuse fruit cups) and then let my girls use q-tips.  It makes for a little less mess, because they can't get a lot of glue on the q-tip. 


    2. Using glitter glue, you can draw a heart on the card. Younger kiddos may need help. I linked both bottles and pens at the bottom of this post.  While the pens get used up so fast, sometimes they are easier to squeeze for the younger kiddos.  Although we've had success with the Elmer's bottle glitter glue.  

3. Construction paper heart cards ~


    This one is an easy one. Using construction paper, cut out many different hearts.  Big ones, little ones, pink, red, purple & even blue! Let your kiddos glue them onto the card.  You can overlap them, you can glue one on each spot and so on.  For older kiddos you can draw the heart shape and they can cut it out following the line.

You could even make a card using a heart shape too! 

Or, if you have heart punch you can use that too! 


There you have it! Easy and fun homemade Valentine cards! Some other things that are fun to let them add on the inside, stickers! You can't go wrong with a pack of stickers! 

Now that you have your cards all figured out for family, onto those school Valentines.  Check out a post I did for Traditionally Cozy on ways to make your own Valentines for those school friends! Plus don't forget to check out all their other Valentine's Day ideas, including my favorite: Valentine's Day pancakes! 


Thursday, January 26, 2023

Homemade Hot chocolate


Oh my word, can I just start off by saving we have gone through so much hot chocolate this winter! One of the reasons is because we've had a lot of snow. Lots & LOTS of SNOW to be exact!! Seriously, I can't even count how much we've gotten at this point except that we've had 8 snow days due to it!  SO, with that we have drank a lot of hot coco! 

I have referenced making homemade hot chocolate in a couple different blog posts over the years, but I wanted to devote one just to hot chocolate. 

First of all, we've used this recipe from Eating on a Dime for years and we really do like it.  A couple things I've learned with this recipe over the years. 

1. Add the salt: 

    In a previous post I had said we didn't add the salt, but recently I was told how salt is a flavor enhancer so I would say add it for sure!  It will help! 

2. Add a little more sugar:

    Let's be honest, homemade hot chocolate is not healthy, it's hot chocolate.  BUT, it's better than store bought because you know what you are putting in it.  If you are switching from store bought to homemade you are going to notice a difference in the sweetness, especially your kiddos.  So I started by adding a little more sugar to the mixture. Then you can slowly pull back on the sugar as taste buds adjust. 

3. Ease into homemade:  

This is my preference instead of adding sugar, but it just takes longer.  Make your batch of homemade hot coco following Eating on a Dime's recipe. Then, buy the big container of store bought hot chocolate. Taking a new jar, put 1/2 of the store bought into the jar & 1/2 of the homemade into the jar.  Shake well. As you use it continue to add a little of each, but slowly taper off on the store bought and use more of the homemade each time.  Again, eventually your tastebuds will adjust. 

So if you are looking for a way to save this winter, try making homemade hot chocolate; you'll save money and be a little healthier too, (but remember it's hot chocolate)! And if you live where I do just sip and enjoy the snow! 


Thursday, January 19, 2023

Ice Cream bucket = free storage


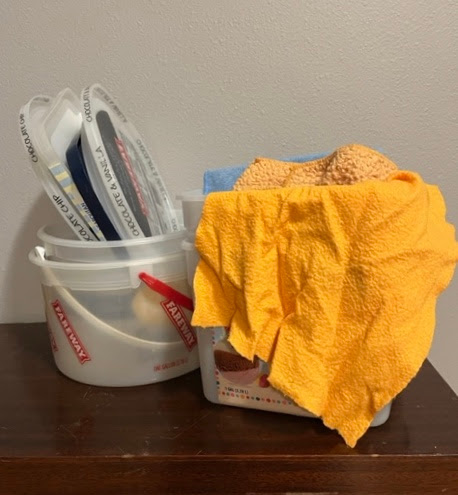
Way back when I first started my blog, I did a post or two on re-using ice cream buckets as storage. You can check them out here: Ice Cream bucket storage or 3 ways to use that Ice Cream bucket but over the years I've added a few new ways to re-use that ice cream bucket and wanted to share. 

1. Freezer storage: 

This is my new favorite! We have a deep freezer and if you have one you know how hard it is to lose something at the bottom. Well, if you use ice cream buckets to store your items in it helps getting those items from the bottom better.  Things I use my buckets for in the freezer: 

  • meat
  • homemade cookies/treats
  • gluten free items 
  • homemade mini pizzas

2. Storage in your shed: 

I recently have been trying to organize our shed better.  Here are some ways I organize with the buckets in my shed: 
  • gardening gloves (mine + my girls) 
  • seed packets 
  • soil pods
  • gardening tools + markers 
  • summer toys for girls 

3. Pots for your plants:

In the last couple of years, I've become a plant lady. Well, I always have enjoyed plants, but in the last few years I've added a lot of plants to my house.  It started with a couple as gifts from my grandpa-in-law's funeral.  My husband and I were gifted two beautiful plants to take home, since then I have added many more! Ice cream buckets make great pots for plants; especially if you don't want to spend a lot. 

4. Outside toy storage: 

We have a big toy box we keep summer toys in.  After awhile the toys were just getting dumped.  So I took some of our ice cream buckets to use: 
  • jump ropes 
  • chalk 
  • bubbles

5. Around the house: 

  • Use for plastic bags: both ziplock or grocery bags  
  • Kids' toys 
  • cat/dog toys 
  • homemade baby wipes 

Pinterest