Friday, March 10, 2023

Easter dress = Spring/Summer church dress


Easter is not that far away.  And so along with it comes the buying of Easter dresses.   While Easter dresses are fun to buy they can add up.  But, if you can make that Easter dress get a little more use, then the cost doesn't seem so much.  

Easter is the time in our house to get a new spring/summer dress that will work for church.  About the time Easter hits we are getting a little warmer and can start to wear more Spring/Summer clothes.  Plus, the previous Summer dresses are being passed down.  So it's the perfect time for a fresh new dress! 

So as you are out getting those Easter dresses in the next couple of weeks, think about them as more than an Easter dress.  Think about them as being your kiddos church dress for the Spring and Summer, or one of their church dresses.  We usually have 2 each to switch off with, but really that's plenty when you figure they are wearing them once a week.  Or, as my oldest is getting older sometimes they are just nice clothes instead of dresses. But, either way, go ahead get that Easter dress or new outfit, but plan on them wearing it throughout the season instead of just for one Holiday. 


We do this at Christmas too.  Around Thanksgiving, we get new Christmas dresses that can be used through out the winter as church dresses as well. PLUS, in a recent post I shared about using that Christmas dress for Valentine's Day...talk about getting your use out of a dress!  If you missed it you can check that post out here. 

Thursday, March 2, 2023

Homemade plant pots


It's getting time to start repotting those houseplants! Plant pots can add up and while I enjoy my houseplants, I don't want to spend a ton to have them either. I have two different ways that I save on my plant pots.  

First, did you know you can use almost anything as a planter?  Being a newbie to plants in the last few years, I've started to find some unique ways to save on pots.

Here are my 3 favorite homemade planters: 

1. Tin cans 

What I like about tin cans, is they are pretty stylish already.  Really all you need to do is drill some holes in the bottom for drainage and you're set! And drilling holes is not that hard, all you need is a nail and a hammer, it's pretty simple to do. 

2. Coffee cans 

Whether you buy the tin coffee canisters or the plastic, they both work great to use for planters.  The tin canisters look great on their own, just like the tin cans.  The plastic ones you may choose to paint.  

3. Ice cream buckets 

These work great for those big hanging plants.  One they need more room, two they will drape over the sides and cover the bucket themselves. But, if you still want you can paint the bucket as well. 

Some more options for homemade planters include the following; 

  • tea cups 
  • plastic to go coffee cups ~ these work great for starting plants too! 
Second, reusing the pots you already have for other plants in your house: 

I am always thinking which plant can go to which pot next.  Rotating my plants is a great way to save on buying pots.  This takes a little bit more thought, but it does help to not over buy pots when needed.  

1. I grab all the plants that need repotting. 


2. Then starting with the largest, I repot it into the newest largest pot.  
3. From there, I take the next largest plant to put in the empty pot.  Then I just continue down to the smallest. 


Sometimes it pays to have a few spare pots around the house.  I had a lot this time around that needed split up and so needed extra potters.  Luckily I had a couple in my basement.  Plus, I ended up with a few babies I was able to give away!  


With this system, instead of repotting every time a plant grows, I am able to wait and use the pots that I have.  Unless your plant is really busting through, usually you can have it wait a bit to be repotted.  

I hope this helps! 


Thursday, February 23, 2023

Life Hacks

 Here are 3 simple life hacks. 

1. Use hangers as clips 

Did you know you can re-use those pant hangers for clips in your kitchen? Super easy, just break off the clip part!  I recommend using a sharp pair of scissors first to cut it a bit.  Then just bend back and forth and you have a clip for your chips, cereal, or anything else you may need a clip for in the kitchen! 

2. Newspaper trash bags

WHAT? Yes! You can make trash bags out of newspapers.  This isn't a new idea, in fact, it's been around since Audrey Hepburn, but, what a great way to cut back on plastic PLUS, save some money!  You don't need a lot of newspaper, just one sheet actually. Then it's a basic origami fold.  Check out this post by Improvised Life for the how-to.  


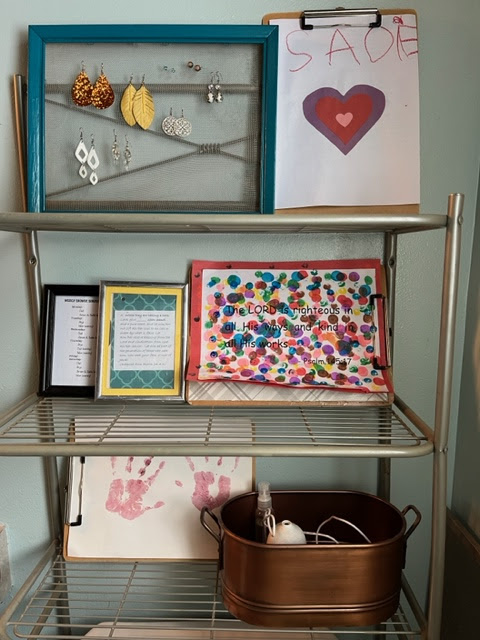
3. Clipboards for kid art 

Sometimes those school artwork pieces don't fit your normal 8x10 frame.  Over the years, I've accumulated a bit of artwork from my girls from school and other areas.  Recently I stumbled across a way to display their artwork without having to spend anything.  We had a few clipboards in a drawer.  So I tried them out.  They work great! The best part about them is they don't leave tape damage on the artwork! Plus, with them not being closed in the artwork is able to move freely.  They work for so may different sizes of artwork! 


Thursday, February 16, 2023

Silicone ~ Mats & Cupcake liners


    Ok so I know that this blog is about saving money not spending money. And I know I did a post last month on a spending freeze, but when you are back to spending money I have a couple that will save you in the long run.  Sometimes we make purchases that spend a little more in the beginning, because over time they will save you more. 

With that, have you heard of the silicone mats? Silicone is all the rage now in many items.  I wanted to share about two that I've been using for a while now and think are worth the money spent on them, which really isn't that much!

     This post includes affiliate links, which means if you click on the link I get a portion of any sales at NO COST to you.  See my disclosure page for more details. 

First up; Silicone mats! 

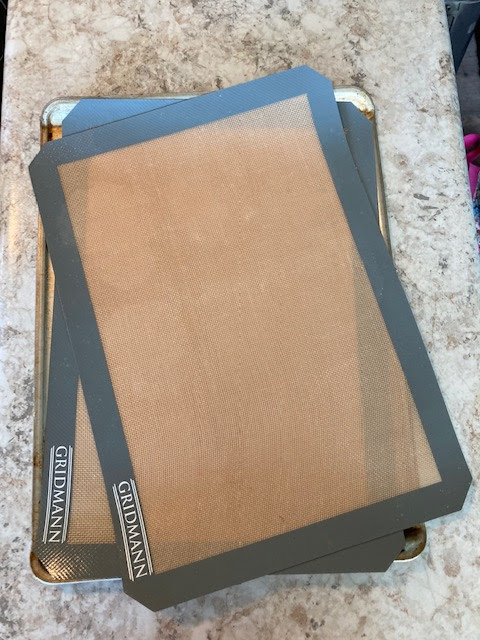
I shared a while ago on my IG feed about how easy they are to use, but I thought I'd share a little more in depth about them.  Why silicone mats? 

1. They are reusable, instead of using a different sheet of wax paper each time and throwing it away, you can rinse the silicone mats and store for another time! 

2. They make clean-up a breeze! No more cleaning those pans, just the mats! 

3. They are non-stick! You don't even need to spray them, just drop your cookies and you're good to go! No more using that spray oil!  


Second: Silicone cupcake liners: 


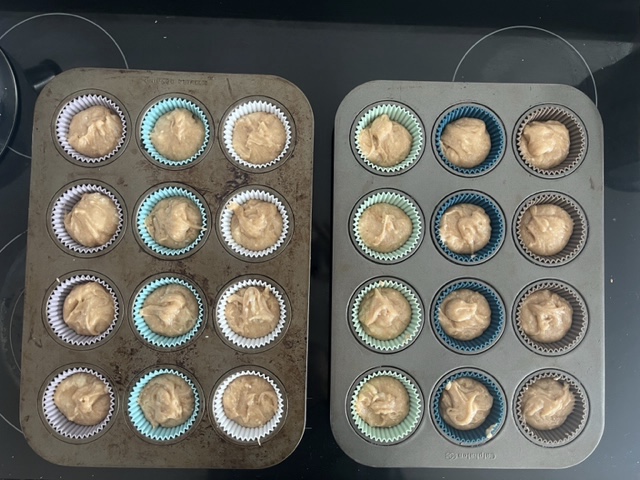
Ok, so once I was hooked on the silicone mats, I started to hear about silicone cupcake liners.  Guys! They are awesome! I have one set and want to buy another! They clean up well and work great for baking! All the good things with silicone mats apply to the cupcake liners too! 

I'm pretty plain and I wanted them to match my kitchen so I went with the grey/teal/white set.  But, I'd like to get either the rainbow or a set of a fun color for birthdays! 

Also, my sister found this cute idea on IG about using them for kids at Thanksgiving.  We tried it this last Thanksgiving and it worked awesome! They were the perfect portion size for the kids. The cups kept their food separated AND it was fun for them too! 

Sorry, the photos are real life, I was not planning on needing to use these at the time.  


So when you are spending again add these two items to your list! In the long run you will save because you won't be re-buying a product to use-up. Plus you'll be helping out out planet in the save process! 


Pinterest